Sunday, October 30, 2011

The One Handed Bowline - Definitely a New Approach Here

I'll begin by building a historical perspective on the development of this knot.  My first self-taught one-handed-knot was the clove hitch.  It took over 3 hours to map out the sequence of steps.  My second attempt at developing a one handed knot was the bowline.  It was a mystical moment and only took 20 minutes to sequence the steps.

 There is a traditional method for tying this knot one handed where the wrist becomes captured in a loop.  If you're ever in a situation where capturing your wrist may be concern, try this new approach as an alternative.  I like how the fingers can more readily slip away if needed.  However, capturing body parts is tricky anytime that rope becomes suddenly loaded.

There's the big rope tying principle at work here.  The key to knot tying is the opening hold.  For some reason, I picked up the rope as shown below on my first try.  I have stayed with that hold ever since: it flows nicely.
Where the rope lays between the fingers is important.  The end of the rope is next to the pointer finger.  The up rope is coming out of the small finger.  The hand is holding the loop that will eventually become a bowline.

From this position, the hand is folded.  The small finger points out - behind the up rope.  Everything for a reason.
Without changing the finger positions, turn the hand over.  Then the folded fingers can open.  See the characteristic small loop.  It circles around the three middle fingers.

The end of the rope will now progress counter clock-wise around the rope.  This positions the end of the rope to reeve through the small loop on the three fingers.  To start the rotation in the correct direction change the position of the end of the rope.  Take it from the front-side to the backside - as illustrated above.  Then keep wrapping it around.  That's a counter clockwise motion.


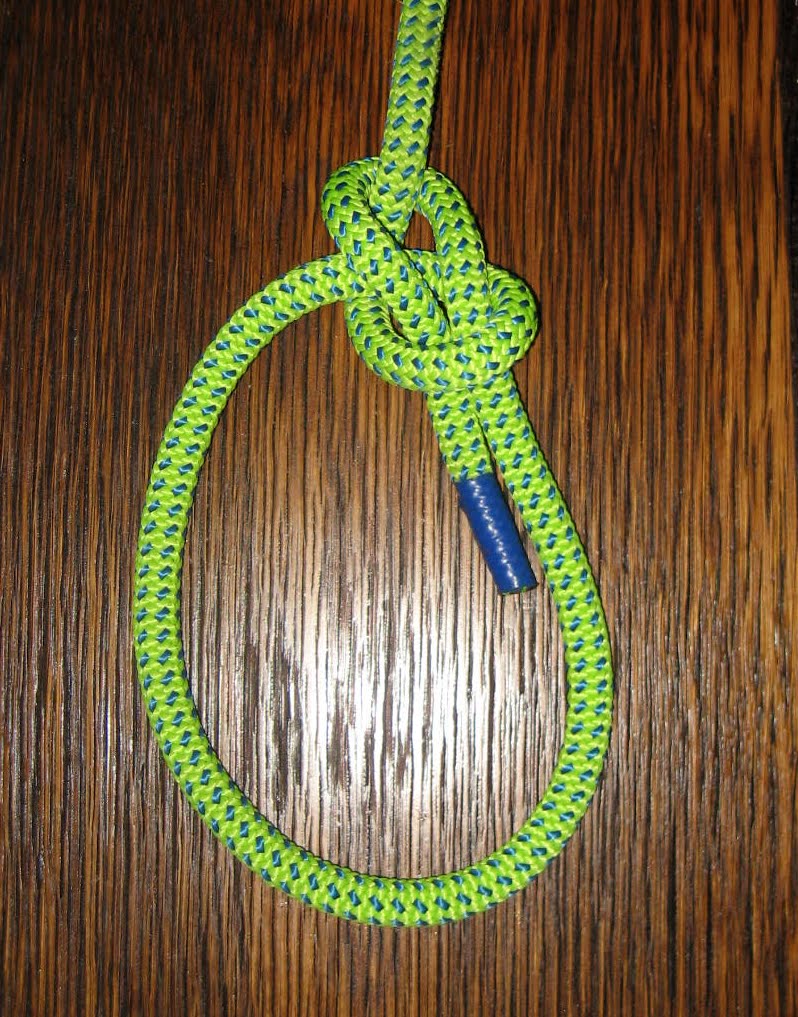
In the above picture, the end of the rope is laying across the loop.  It's worked down into the loop as the next step. It arrives at the image below.
Dress it.
Here's the finished view as follows:
The final view will help clarify how the end of the rope wraps around counter clockwise and reeves through the small loop.

The Youtube version will provide the flow of it.
Practice it.  Enjoy it.

The photos that follow will be the essential stages minus the hand.  The purpose is to help you visualize the knot.


No comments:

Post a Comment